Many of us wind up doing printing for organizations after doing design as a hobby. Printing thousands of copies in a proper printing shop has some different requirements from printing just a few copies in house. Some of these are described below.
Commercial Design Tips
Yongho Kim 10-6-2010 9:57 am
- Basics
- Use Illustrator or InDesign. It's The Only Way™
- Keep all your original images, preferably in the same folder the AI or INDD file is sitting. You will most likely need them later.
- If designing color pages, use the CMYK
- Finishing Touch before sending to Printing Shop
- After you are done designing, select every element on each page (Press Ctrl+A) and do these two steps:
- Outline Fonts
- Embed images
- Once you do the above, don't save on the same INDD file! The outline fonts step makes your design uneditable, and it's irreversible! (You can undo if you keep the file open, but once you save it, close it and re-open, it's not reversible). At this point is when you export as an EPS file
- Save as “Adobe Illustrator 9”. Ignore the warnings. If you want to send to a higher version, ask the printing shop what version they use. Often printing shops don’t have the latest versions.
- Send the EPS file to the printing shop
Margins and Bleeding
There's two options: margin or bleeding
Margins
- Using margin means leaving enough space in the longer side of the paper so that the printer can grab the paper. Usually 0.5" is left, although you can stretch that a bit after checking with the printing shop (0.3" seems to work most of the time)
Bleeding

You can opt to have no margins, it costs approx 15% more, but often it's worth it from a design perspective. The printing shop will print on a paper larger than the size you seek, and then cut it out to match the size you need. The machine has a margin of error when doing the cutting, and you compensate by having the design be slightly larger than the size you need. For example, if you have a red background stretching all the way to the end of the paper on a 11"x17" paper, the printing shop will actually print on a 14"x20" paper and then cut it out. If you paint your design only up to 11"x17", if the machine cuts a few mm off from where it's supposed to, you will see an ugly white space. Because of this,
Making the design spread over a space larger than what you will end up seeing is called "bleeding". How much bleeding is needed depends on the machine they use, so just ask them.
For example, in the image to the right, the yellow border is what actually will be in the final product. However, we need a larger photo so that we can bleed the design to the red border, which is the space recommended by the printing shop.
How to outline fonts and embed images in Illustrator
Printing specifications formatting
When discussing a printing work with the printing office, ensure all of the below information is included. You can discuss it verbally and they will likely email you in the below format for confirmation, or you can just send it to them so that all details are clear from the beginning.
Name: KRC Flyer (describe item so accounting is easier - their invoices will include this informaiton)
Paper: 100# matte
Size: 11x8.5
Number of pages: N/A
Color: 4/1, black ink
Special: Fold in half?, Stitching-Binding?
Bleed: no bleed (0.4" margin)
Qty: 320 pcs
Source of Photos & Clip Art
- Wikimedia Commons
- Flickr Creative Commons Search
- Clker.com (public domain clip art)
- Open Clip Art Library
Editing Tips
- To change the corner radius of rounded rectangles: press UP or DOWN to modify the values while holding the mouse drawing the rectangle.
- When printing two 11x17 sheeets for 8 pages total folded: pages must be 1+8 with 2+7, and 4+5 with 3+6 for pagination.
Effect Tips
Dimensions
- A2 Envelope: 4.375 x 5.75
- Envelope sizes
- RSVP Form inside A2 enveope 4.25x5.5 (either 0.25" margin or full bleed)
Invitation card 10x7, fold in half 5x7
Maximum size our printing shop can print in-house: 13x19 inches. Beyond that, they will subcontract it to another shop.
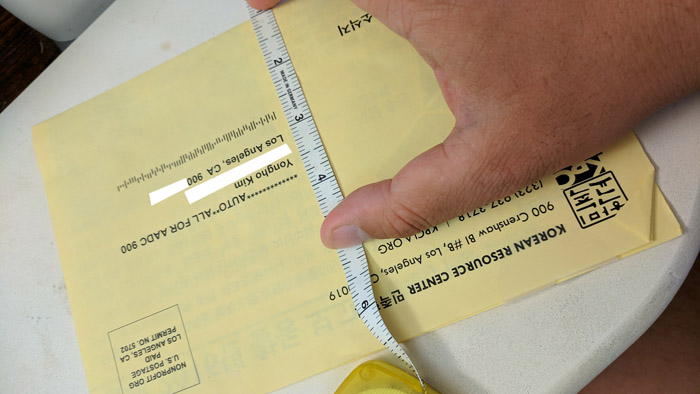
To make use of the mailing company's laser printed address for people to cut out and return for event registration or petitions: the address line cuts 2 inches above the half fold. Therefore, when designing return forms on the back side of the mailing label print, the limit it 3.5 inches from the top (5.5 minus 2)
Setting up your tools
Other Tools
Fonts
- http://www.reddit.com/r/typography/comments/26748x/what_font_management_tool_do_you_use/
- http://hangeul.naver.com/document
- http://www.creativeswall.com/15-free-standout-headline-fonts/
Printing Banners
- Email the outlined banner PDF file to this vendor's email address. Include:
- Material: vinyl or fabric. Vinyl is heavy and thick, and is best for the banner to be installed somewhere. Fabric is lighter and is easier to carrier, but is slightly translucent - best for marches.
- Size. (If the banner is very large, like 18x3, you may want to shrink the dimensions to, for example, 6x1)
- Where hole needs to be punched
- Which store you will pick up at
- For fastest processing, call and confirm that they received the order
- You can pick up in 2-4 days.
Printing Shops
Immigrant family owned shops
Union printing shop